Adding Decision Zones
Creating a strong variable rate seeding recommendation starts with defining
your Decision Zones.
Go to us.app.granular.ag
1. Introduction
In Granular Insights, you have a few powerful ways to build these foundations.
2. Decision Zone options
If you've used VRS in Insights before, you are likely familiar with generating
zones based on Soils data, or using Multi-Year Yield Analysis.
3. When to use MYYA
MYYA is an option if you have at least one year of historical harvest
data for that field.
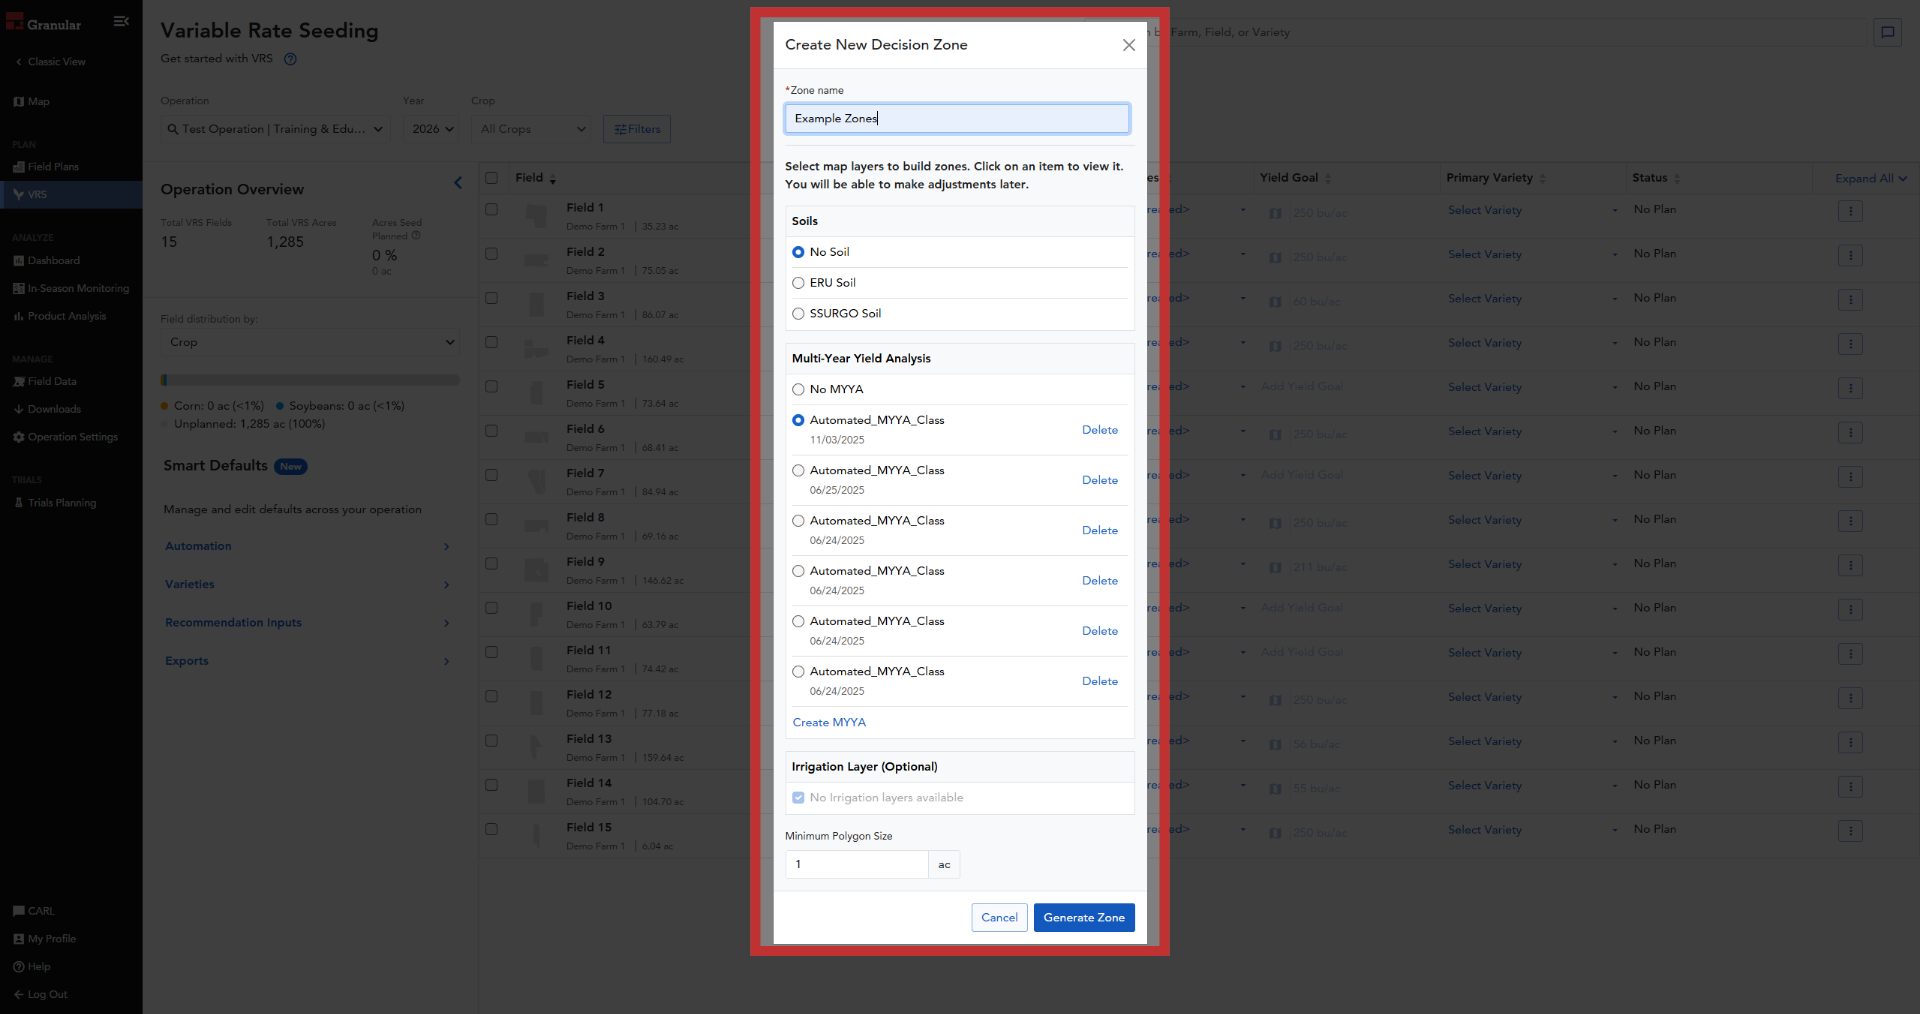
4. Yield Predict Zones
But if you are working with fields new to Insights or lack historical
harvest data, Yield Predict is an easy way to create productivity zones.
As long as the field has been in corn or soy production in the last 3
years, Yield Predict data can generate a zone map.
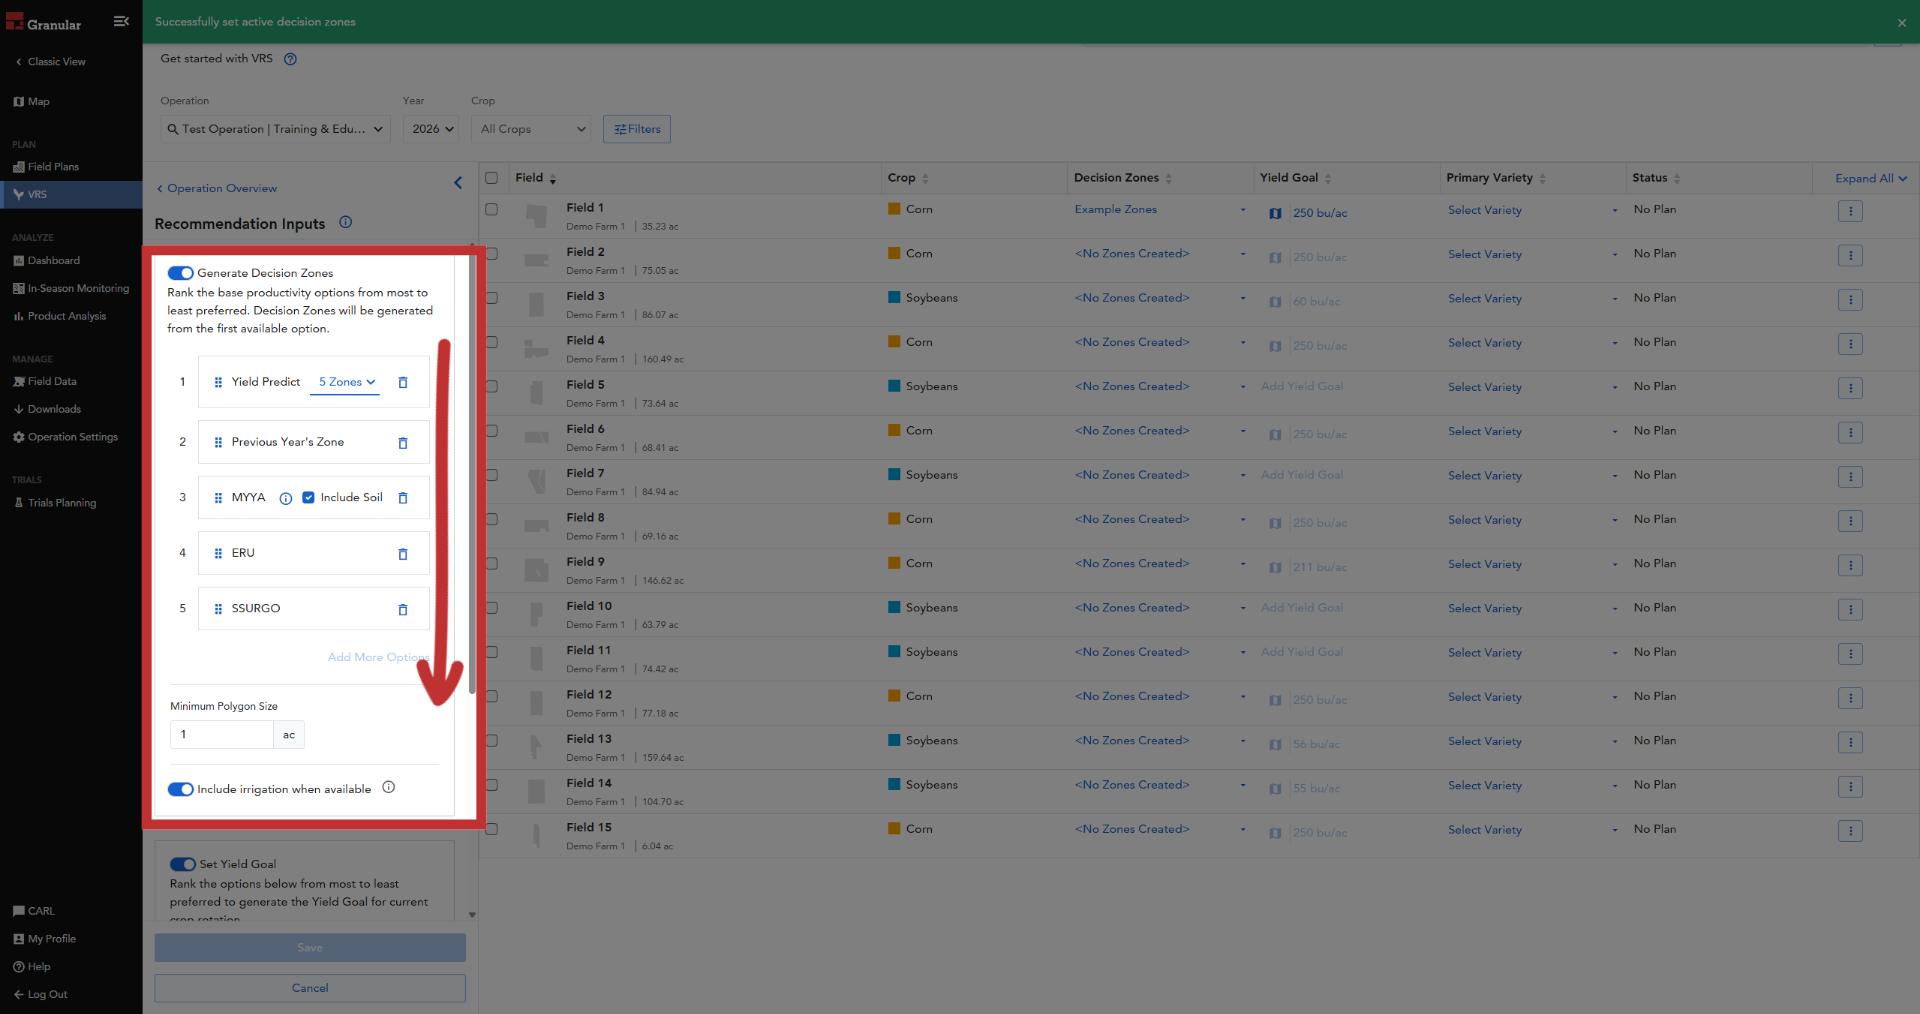
5. Open Recommendation Inputs
To use Yield Predict Zones, navigate to your Recommendation Inputs on
the VRS page.

6. Confirm Settings
Decision Zones will be created in the order you specify in your Smart
Defaults. If data for your first preference isn't available for a specific
field, the system automatically moves to the next available source in
your list. If Yield Predict is your preferred productivity option, ensure
it is first on the list.
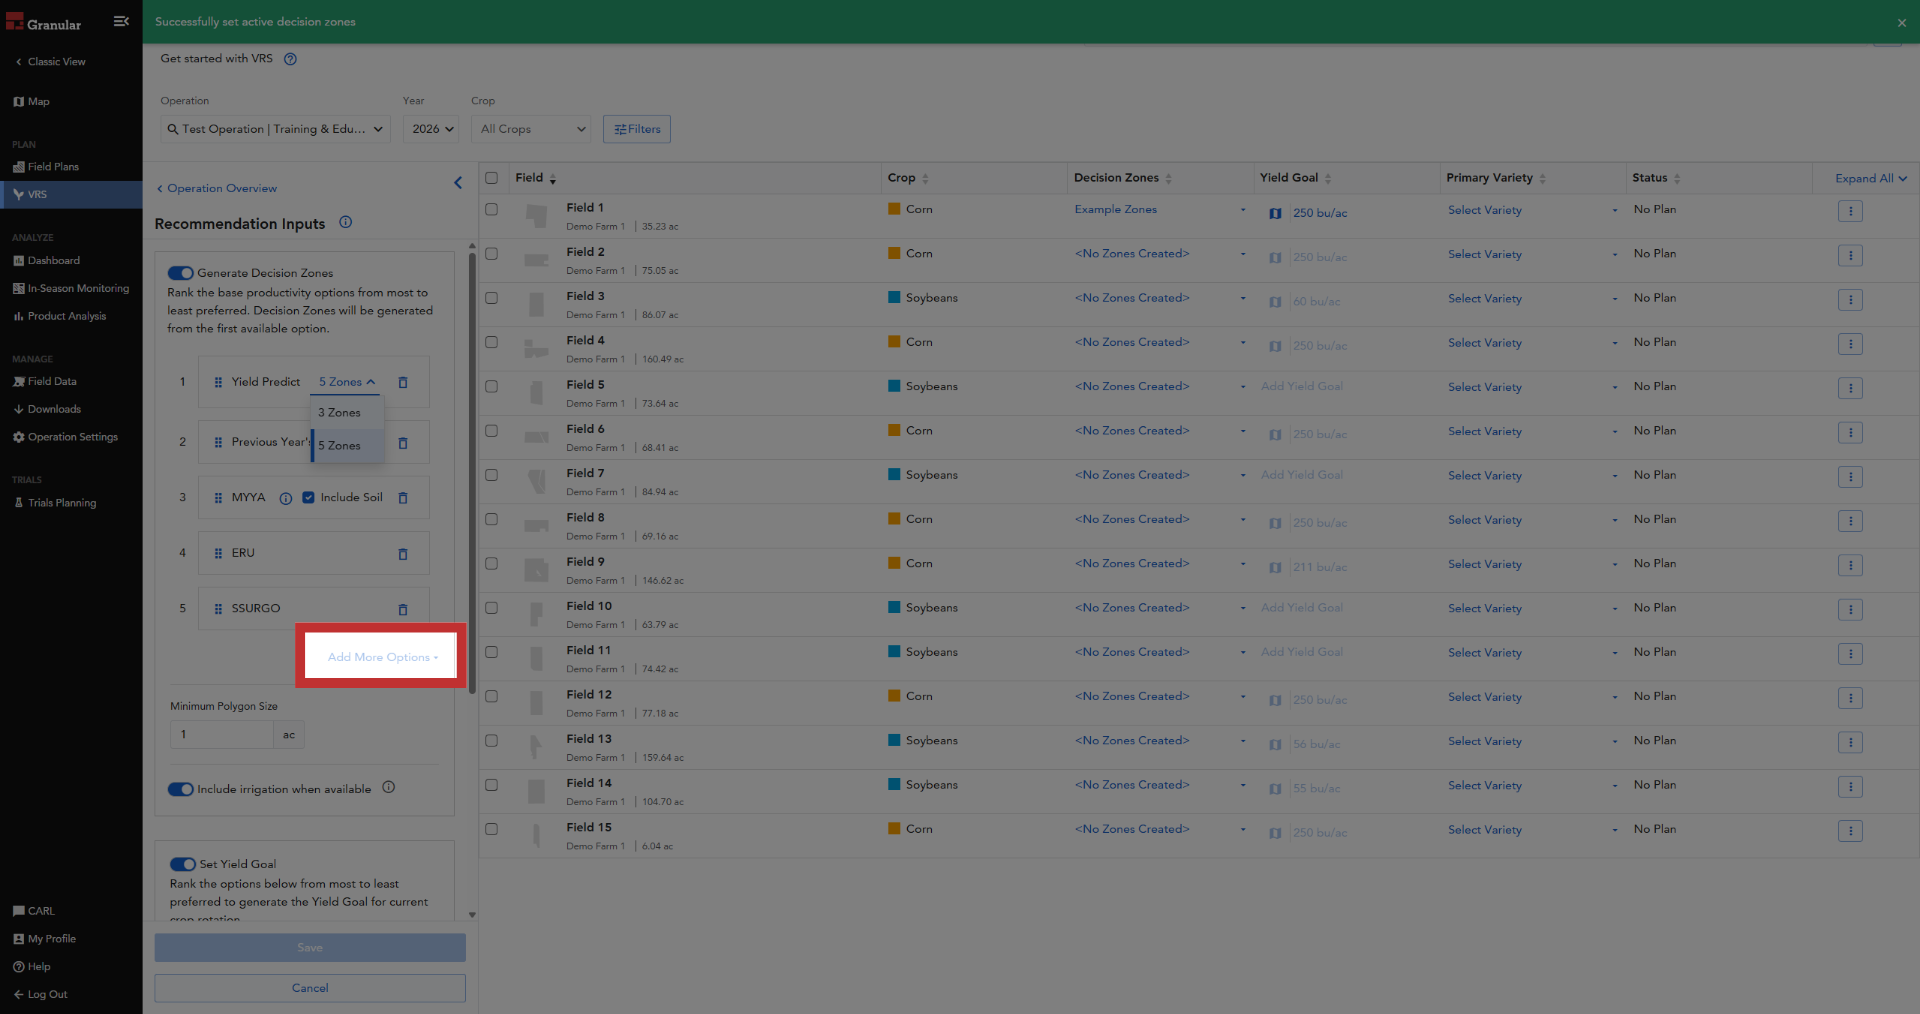
7. Add More Options
If you don't see it in your list, you can click "Add More Options" to
add it
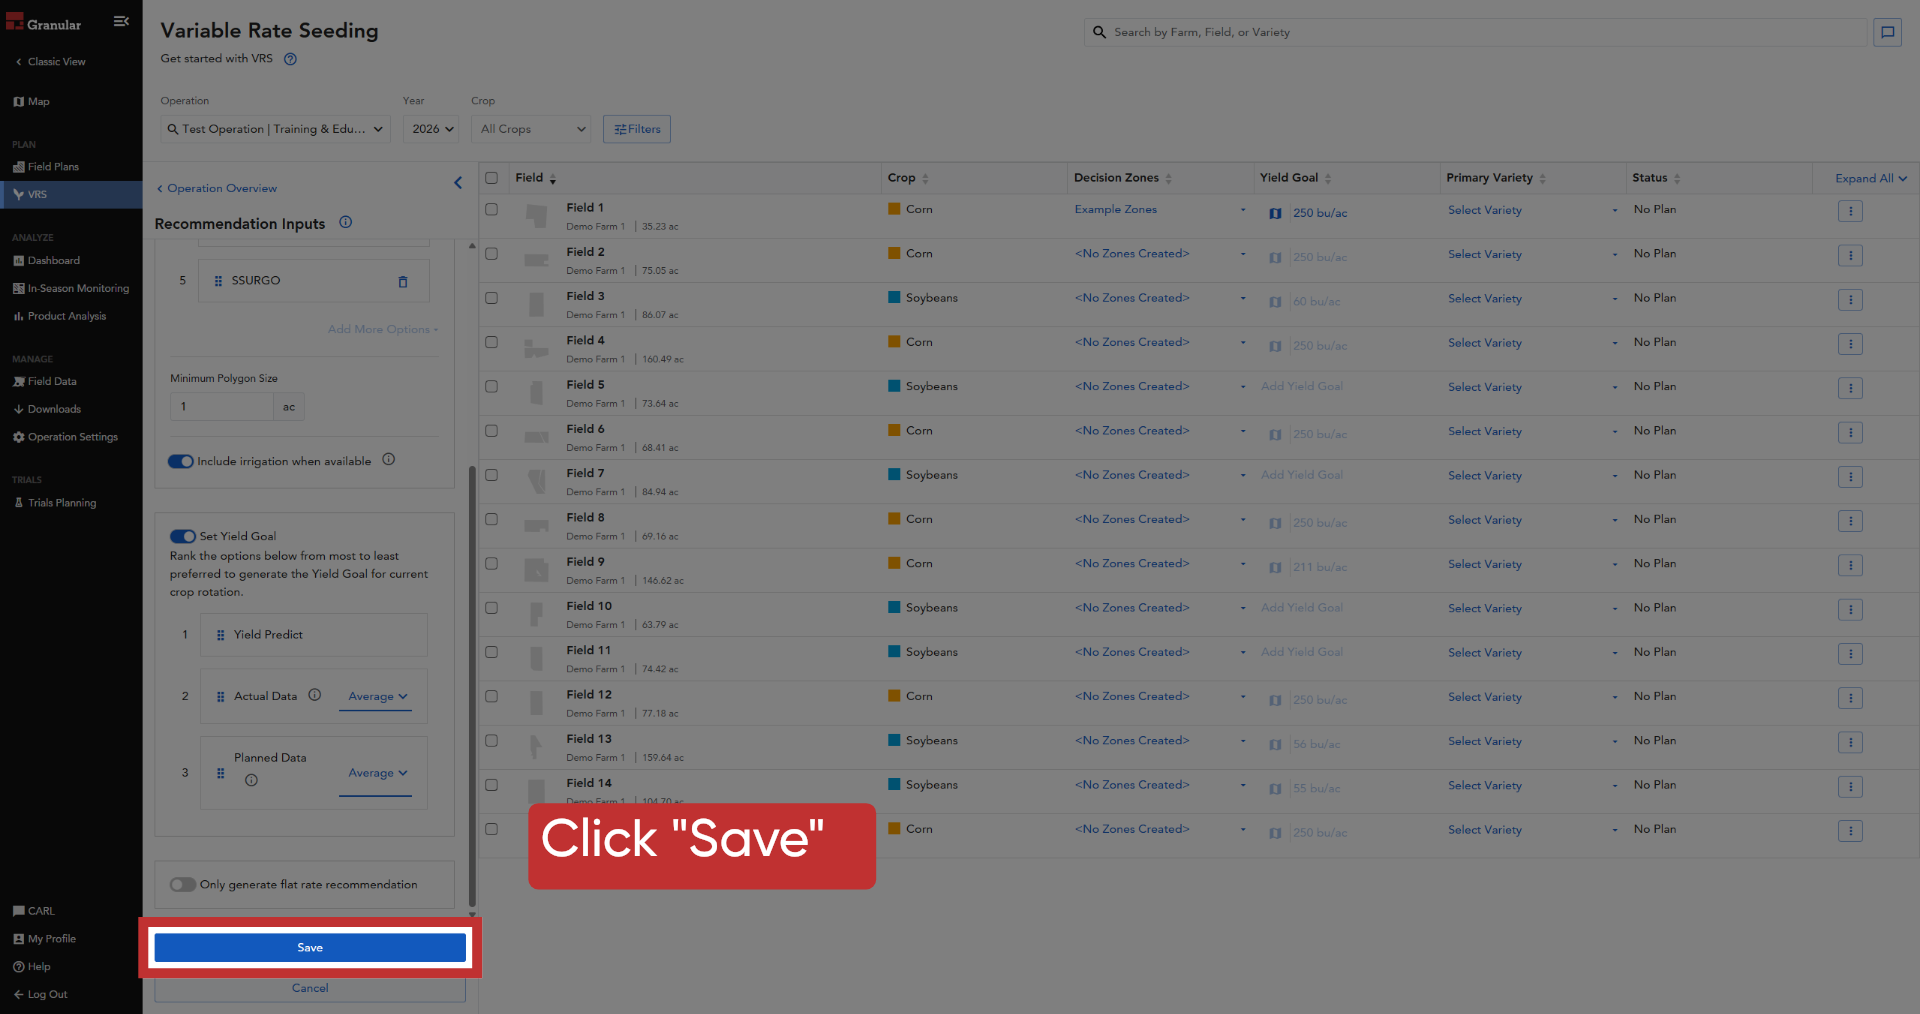
8. Save Zone Configuration
Once you've confirmed the correct options, click Save. This ensures that
when you generate Decision Zones, the system prioritizes Yield Predict
Zones.
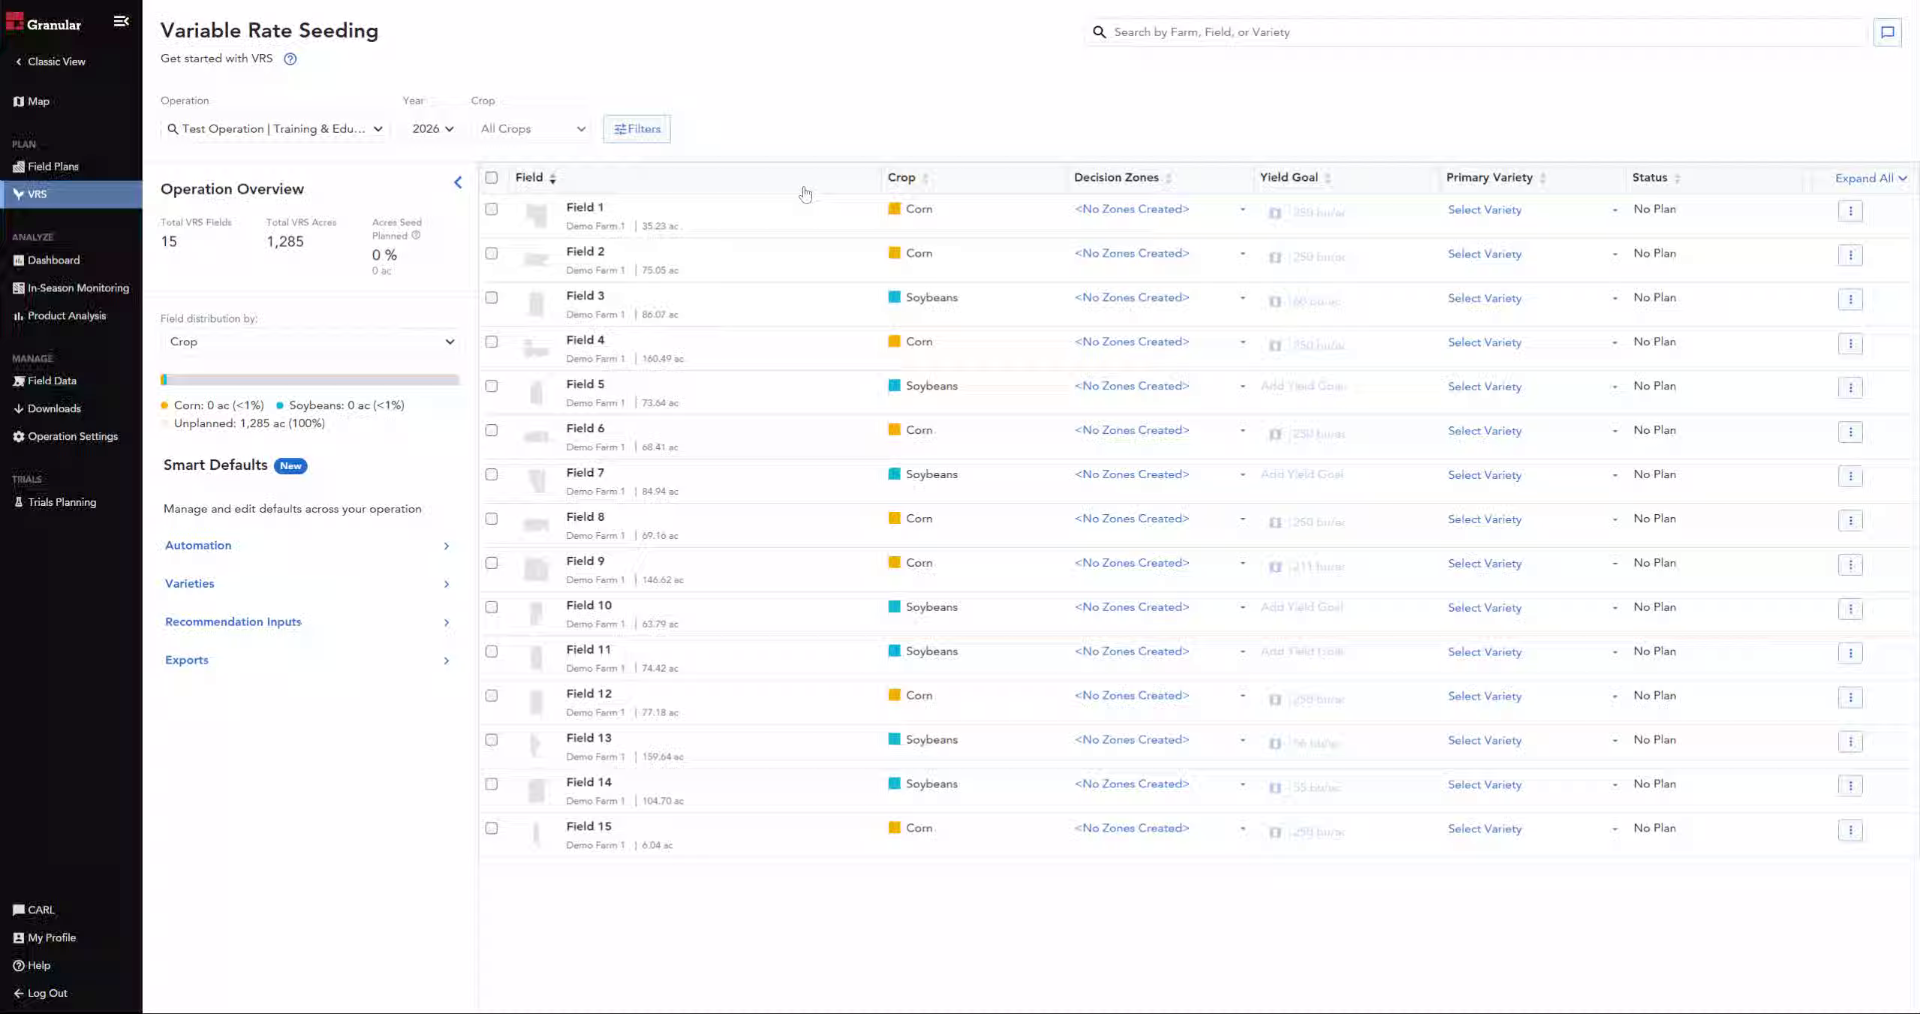
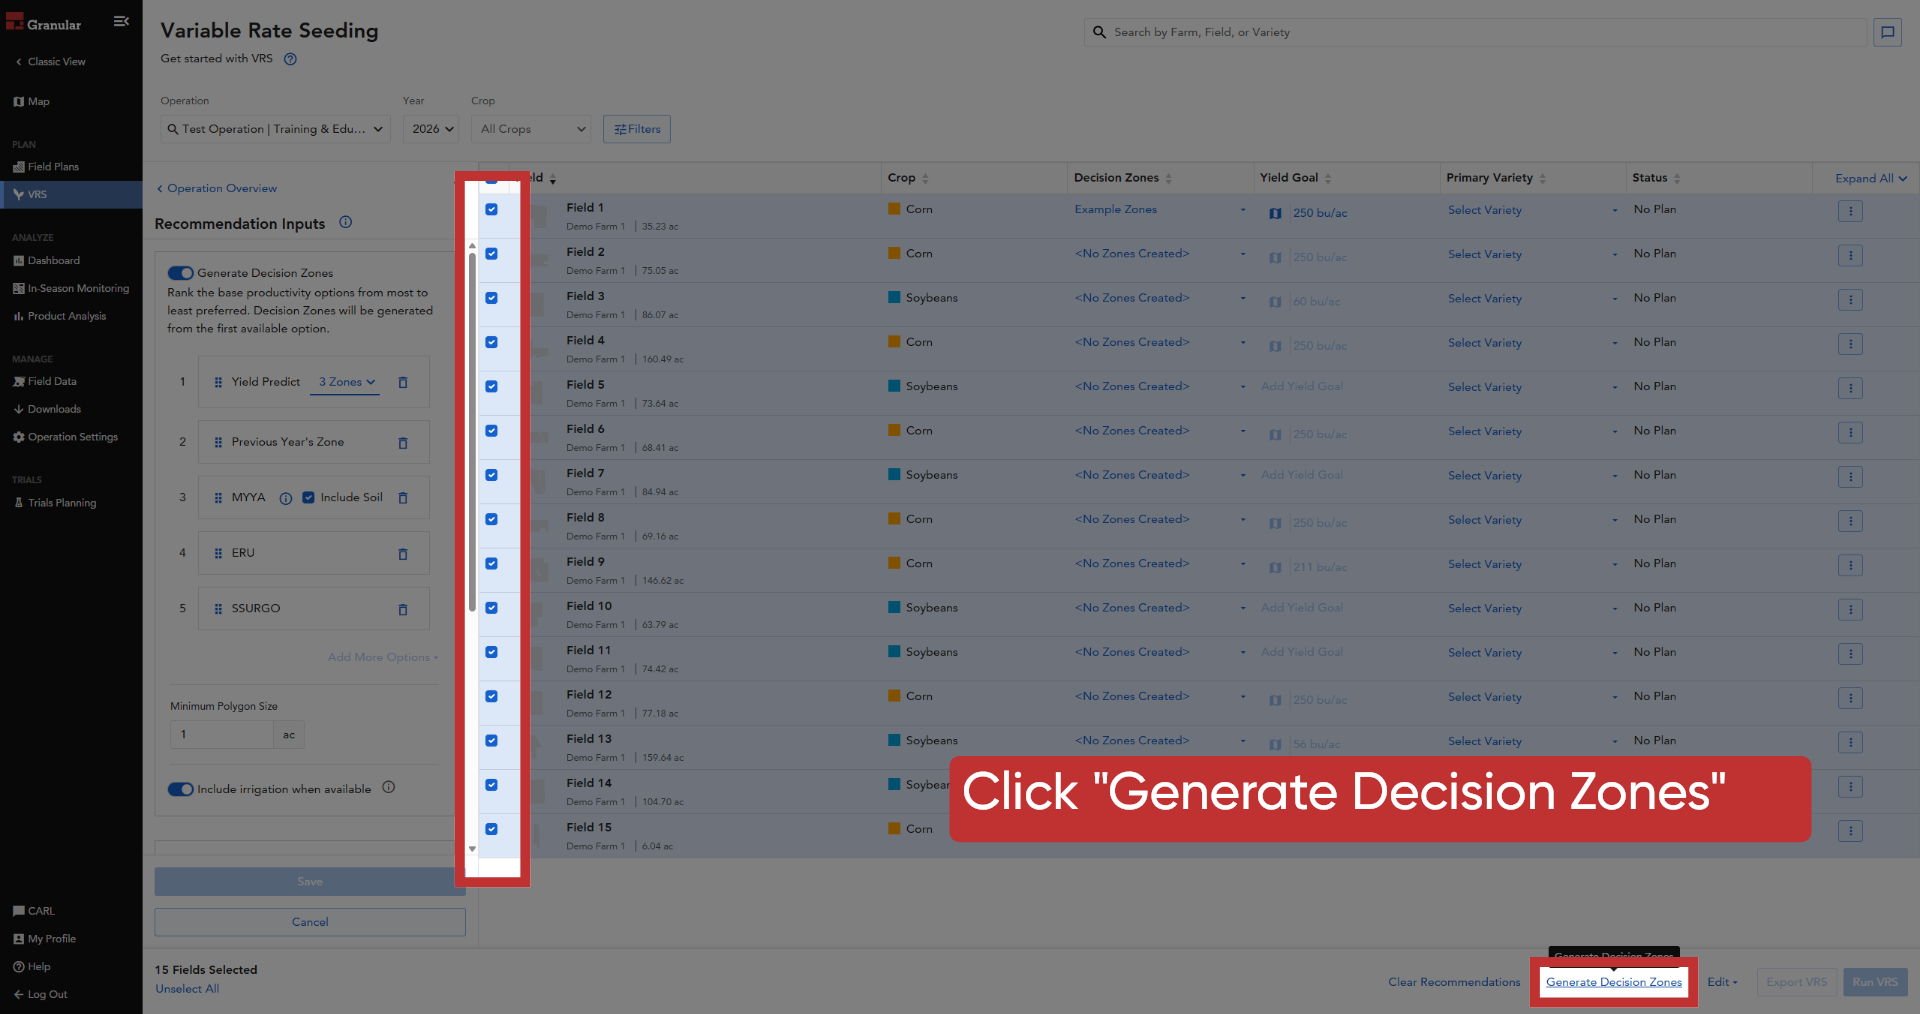
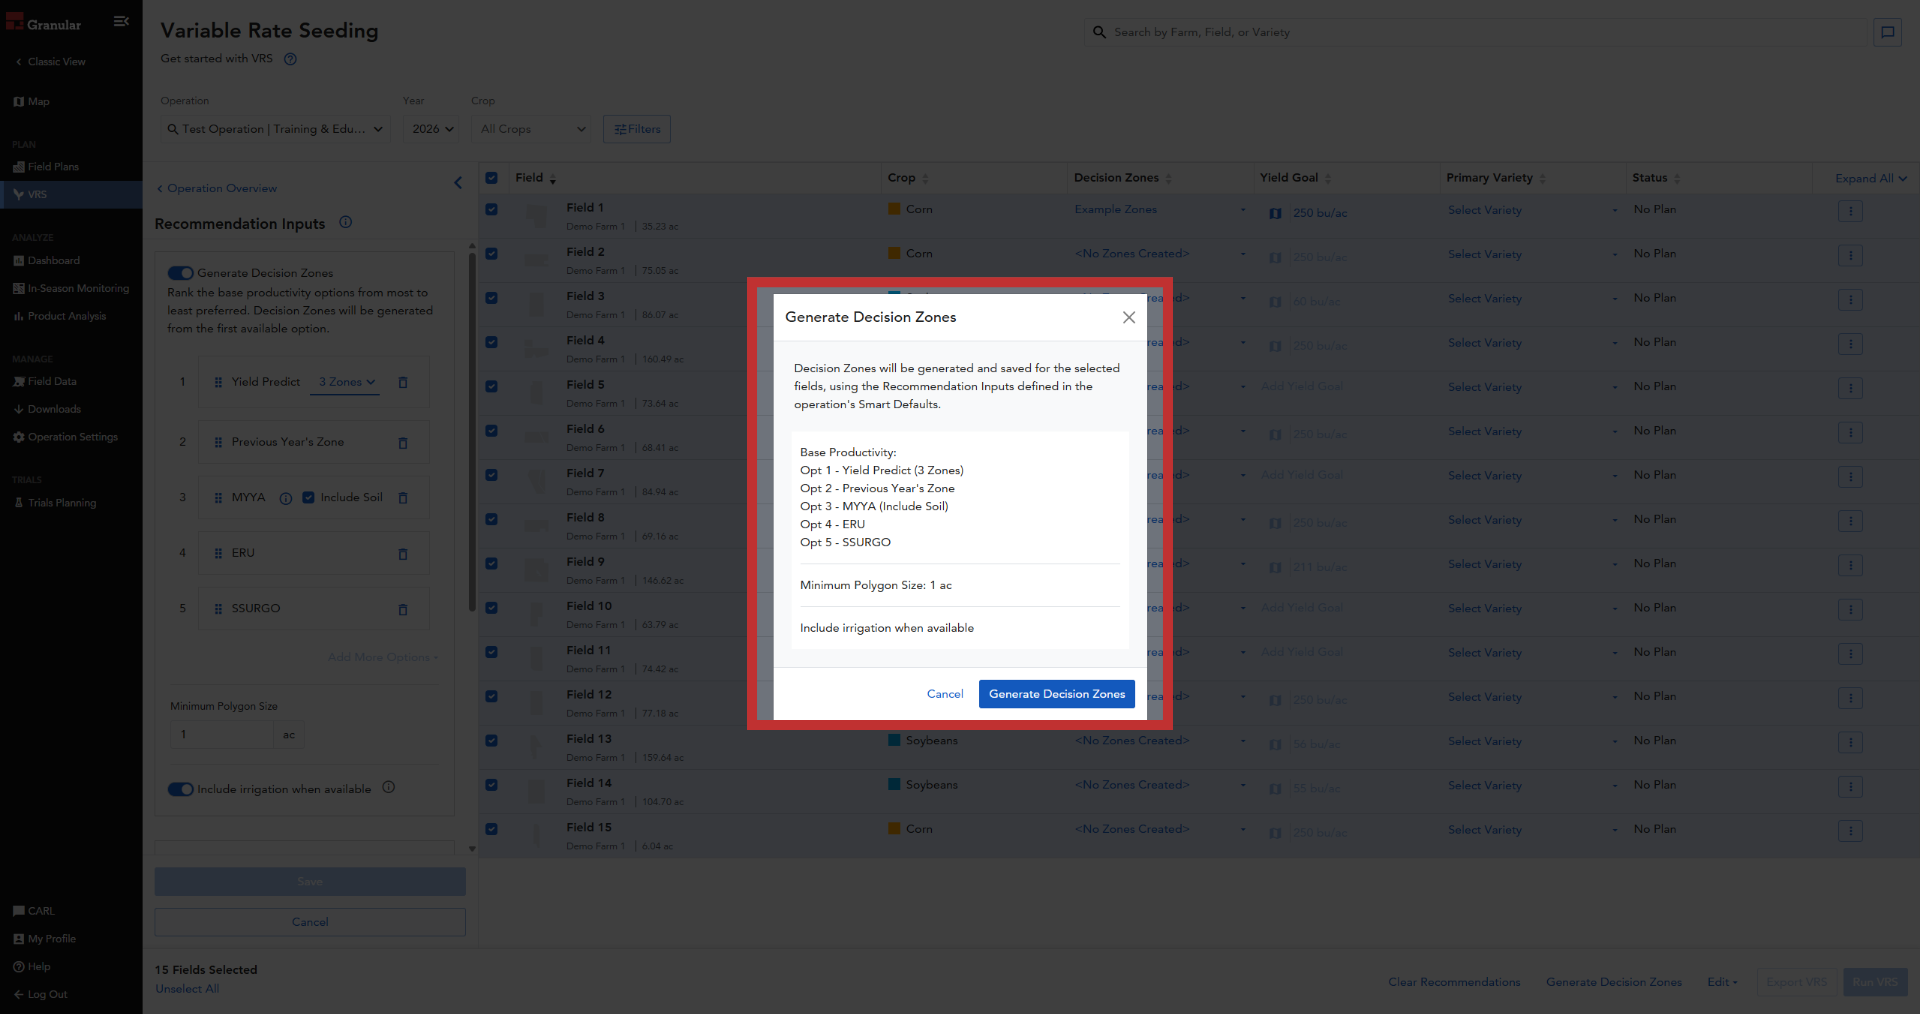
9. Generate Decision Zones
Back on your field list, select the fields you want to enerate Decision
Zones for and click Generate Decision Zones in the bulk action bar at
the bottom of the screen.
10. Wait for Generation
The system now generates Decision Zones based on the Yield Predict data.
It’s a data-driven relative productivity derived without needing your
own historical yield monitor records.
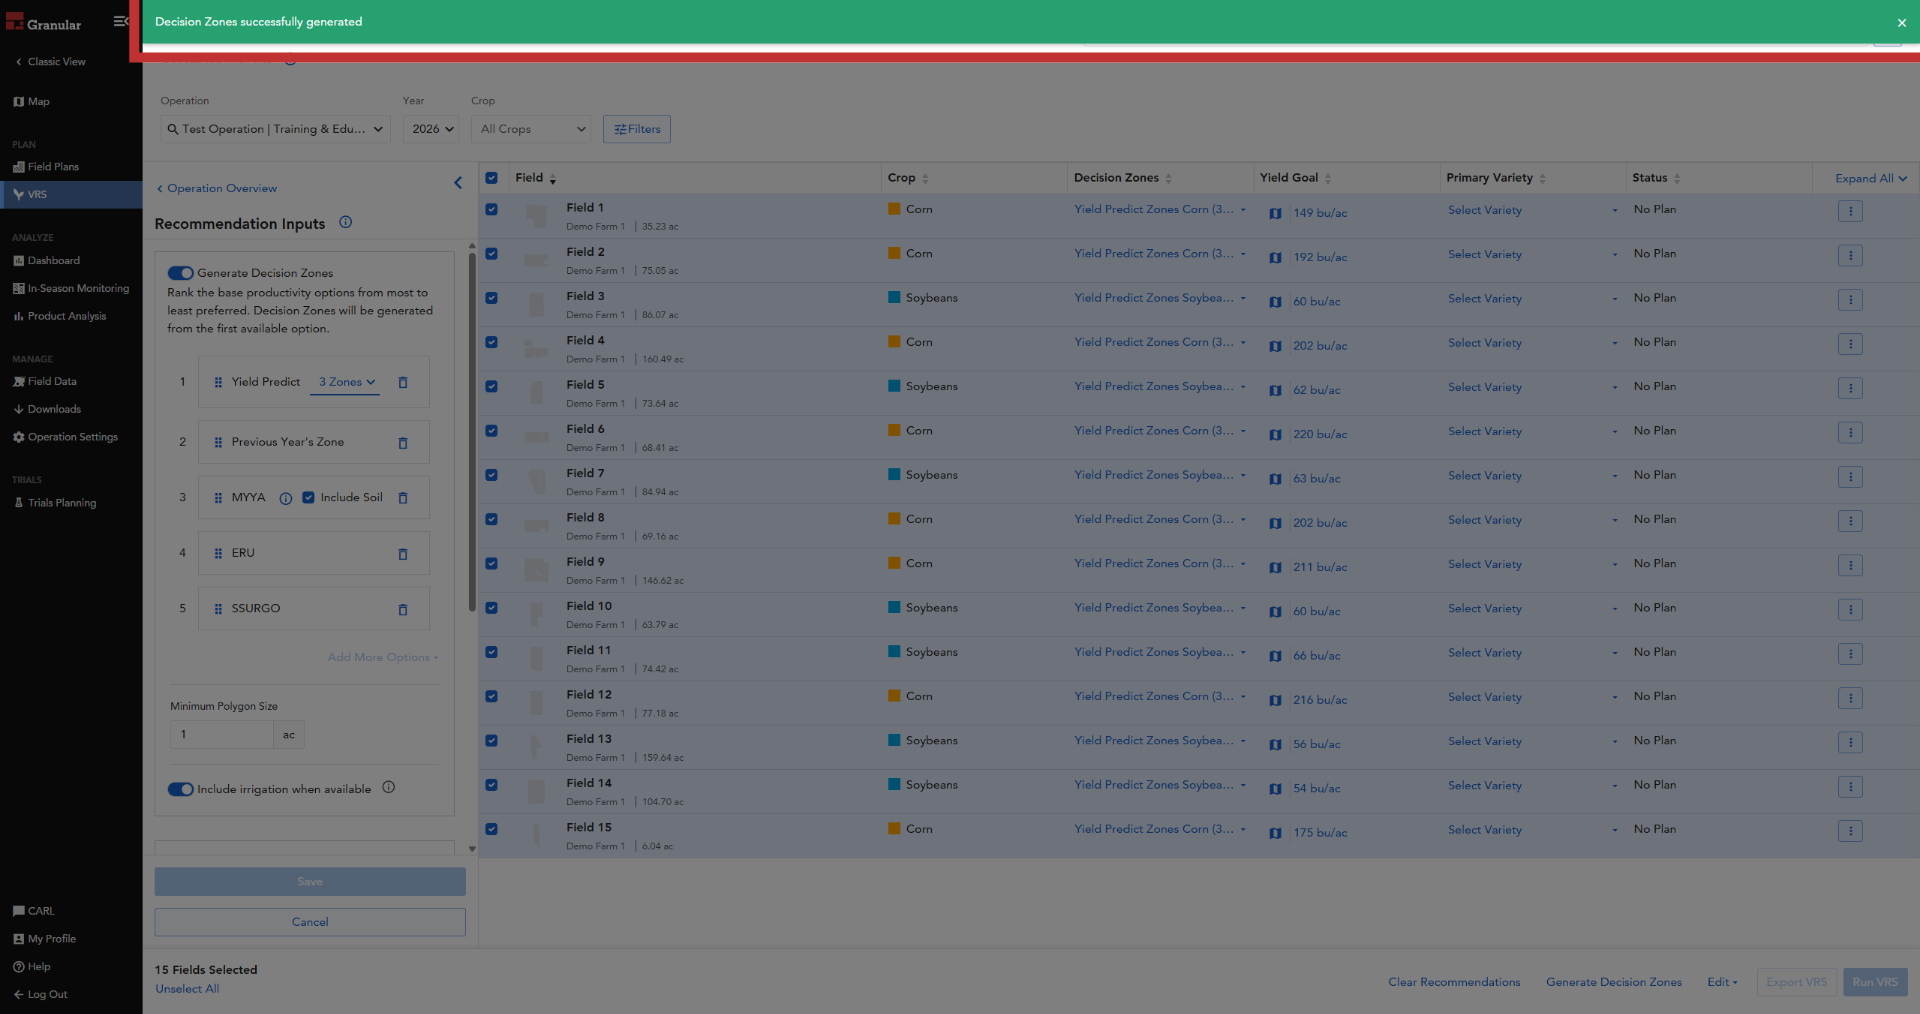
11. Confirm Zone Generation
When the Decision Zones have generated, you'll see a green success banner.
If you’ve recently added a new field or updated a boundary and data
is found, Yield Predict Zones will be generated and you'll see them in
the drop down menu with today as the creation date. If no Yield Predict
data is found for the new fields than Decision Zones will be created
in the order of your preferences in the Smart Defaults.
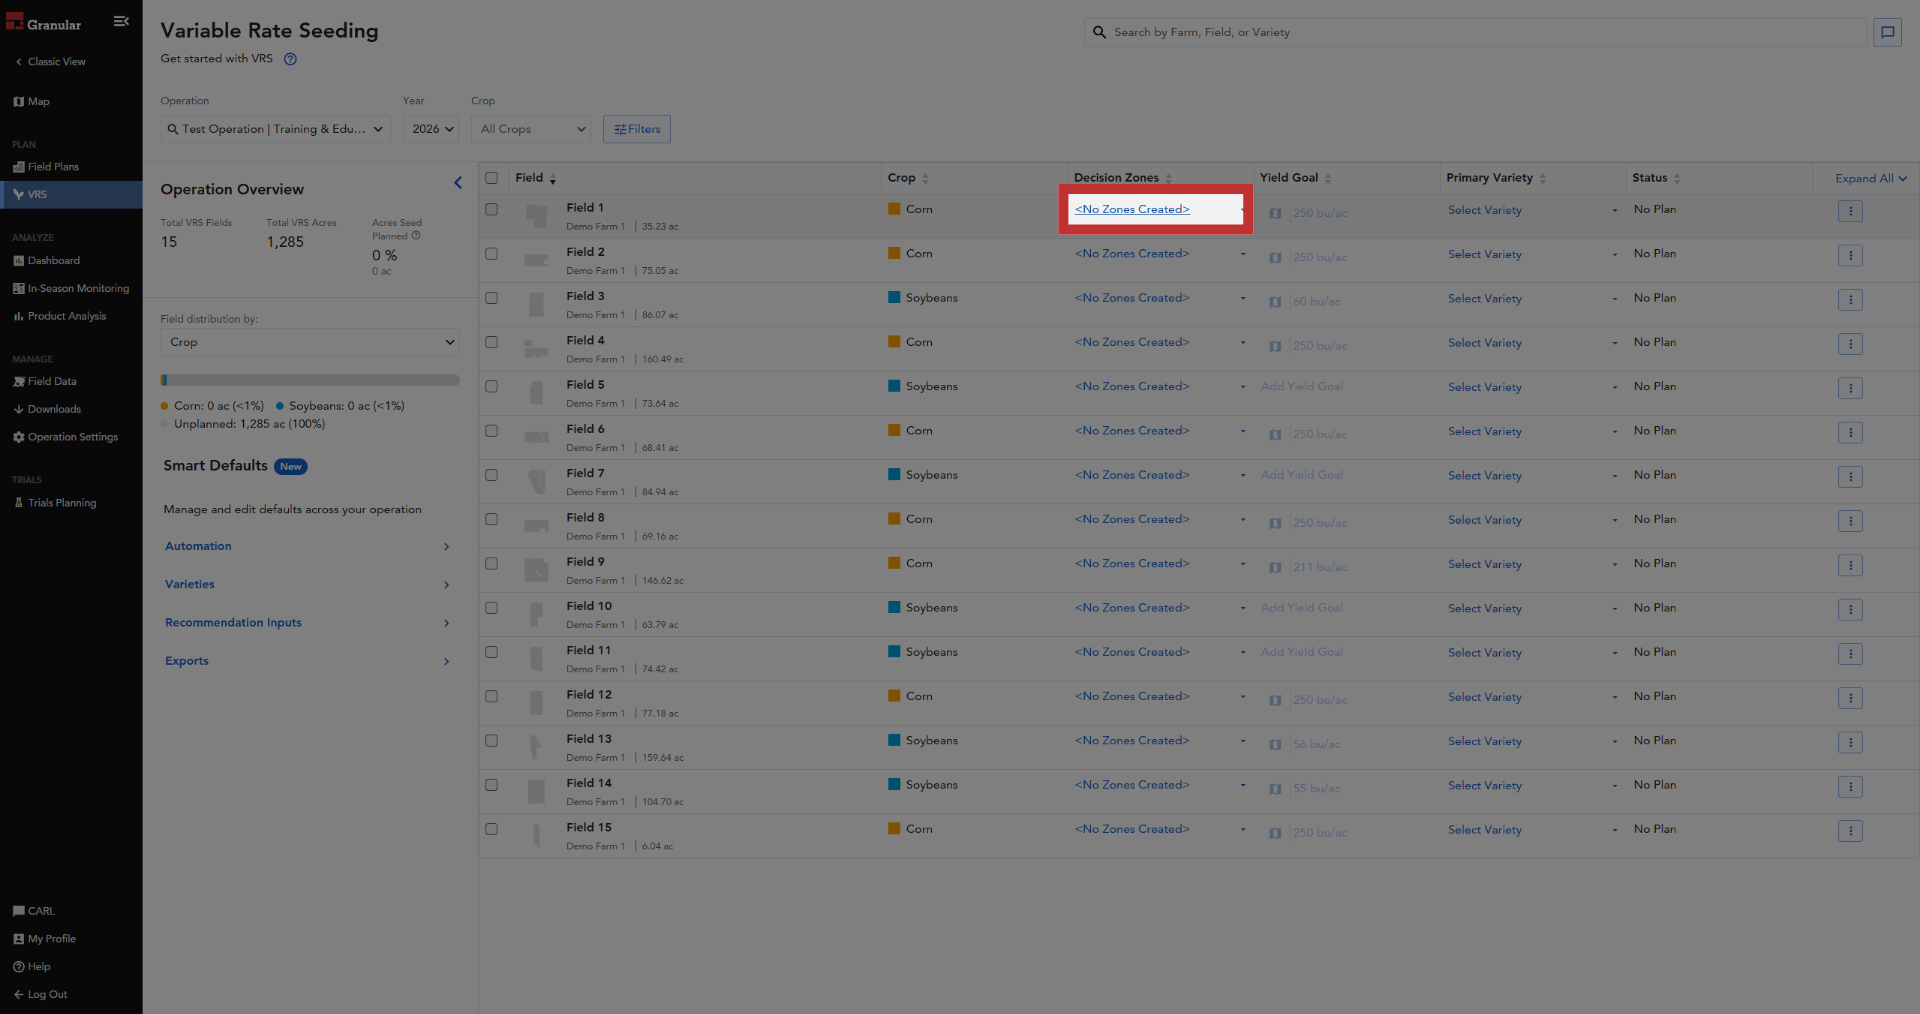
12. View Map Layer
To review your new zones, simply click the Map Icon next to the field
name.

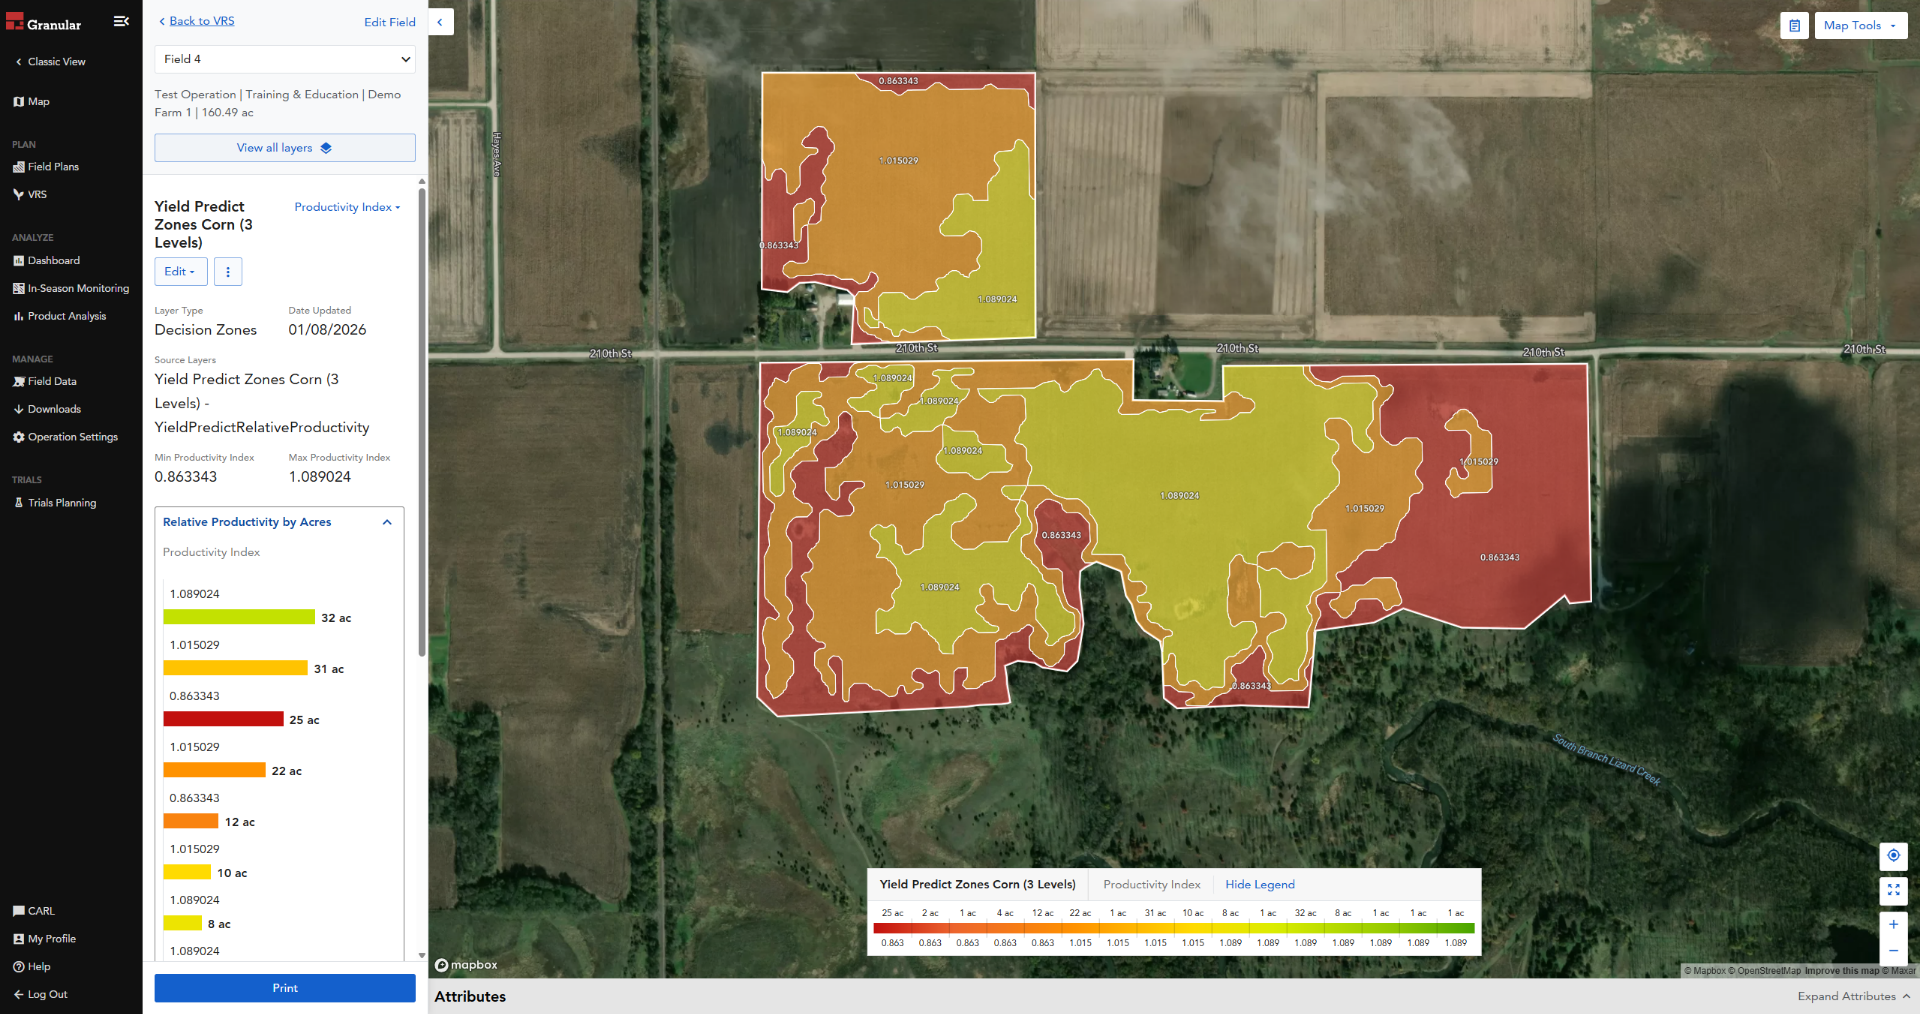
13. Verify the Data
This opens the map layer, allowing you to visually verify the Decision
Zone polygons. You now have a scientifically modeled set of Decision
Zones, ready for creation of the yield goal layer and the seeding rate
recommendation.

Start using Decision Zones now to enhance your data analysis and optimize
decision-making. For more information and support, visit the Granular
Insights help center or contact customer support for assistance.